Saddling a horse is the most important thing to learn for horseback riding – aside from grooming. Saddling sets the tone for how your horse will feel for the ride and potentially long-term after being saddled many times. This post reviews the basics of saddling up a horse from the saddle pad to the breast strap. What pointers to keep in mind for your horse’s and your safety.
Step 1: Saddle Pad
The saddle pad should be placed on the mane of the horse and moved back to the appropriate spot around the withers. This ensures the hair is pushed in a natural direction for the horse. If the saddle pad starts from the back and is moved forward, the hair will not be in a natural position and it will be uncomfortable for the horse.

Step 2: Saddle
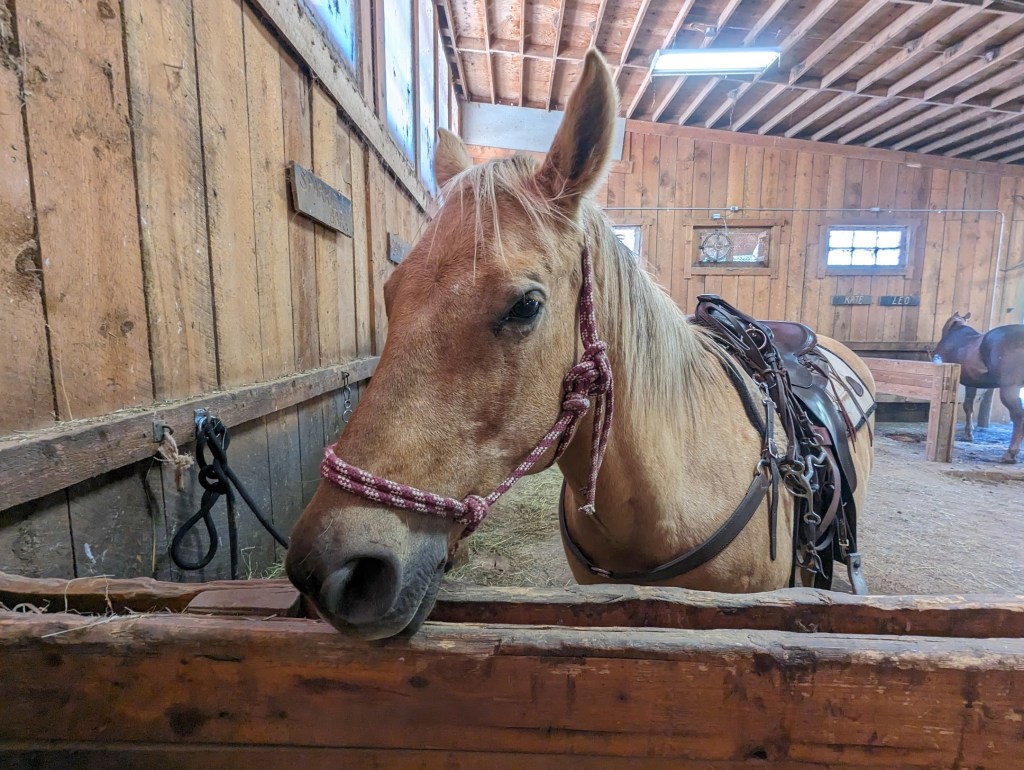
Place the saddle on the saddle pad from the left side of the horse. This is where you will connect the cinch and the girdle. You can place the right leg stirrup on the saddle horn to make it easier to place the saddle in its spot. Walk over to the other side of the horse and double-check that ties, the girdle, breast strap, etc., are not caught underneath the saddle and are untwisted. Place the untwisted breast strap, across the top of the neck for now.
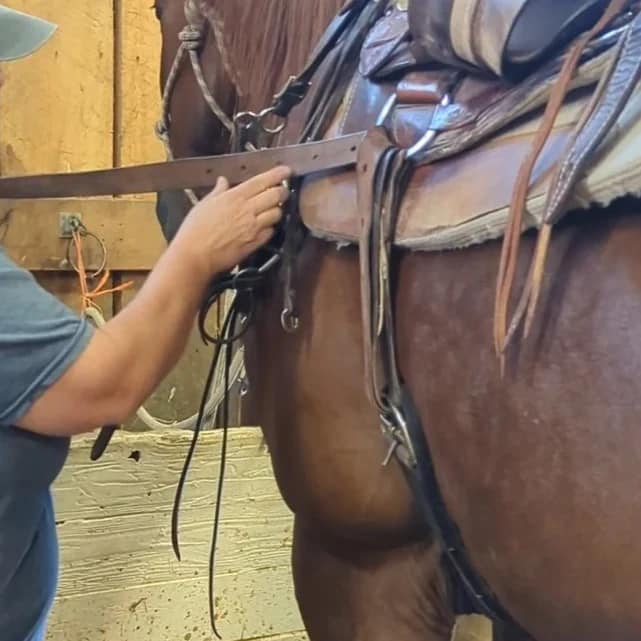
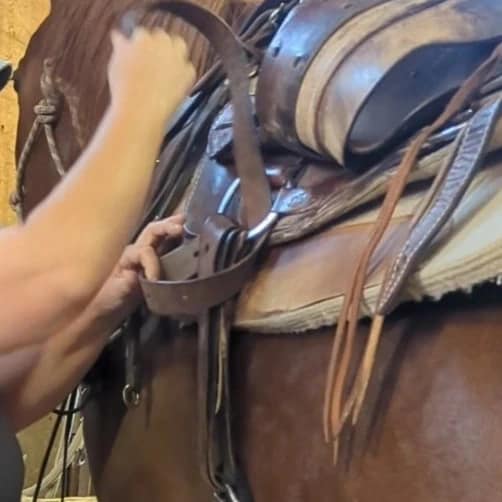
Step 3: Girdle
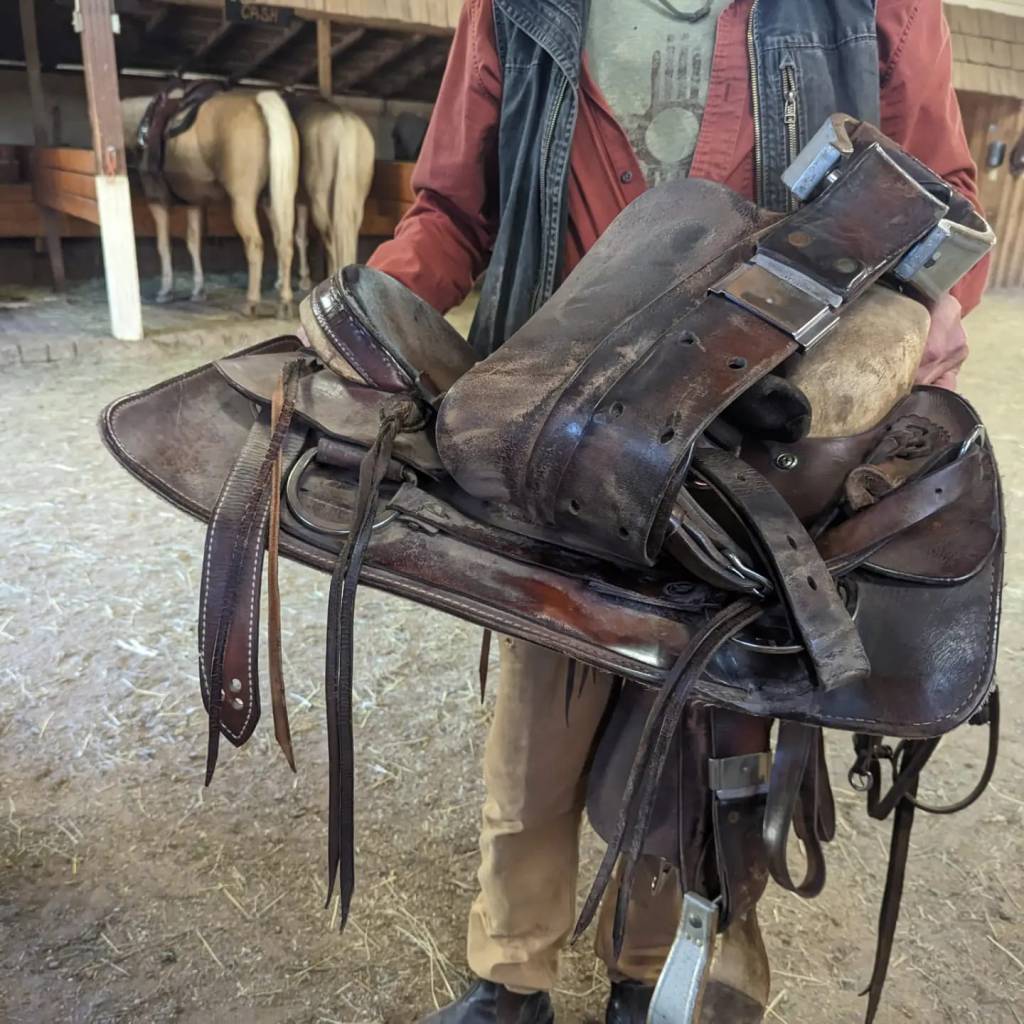
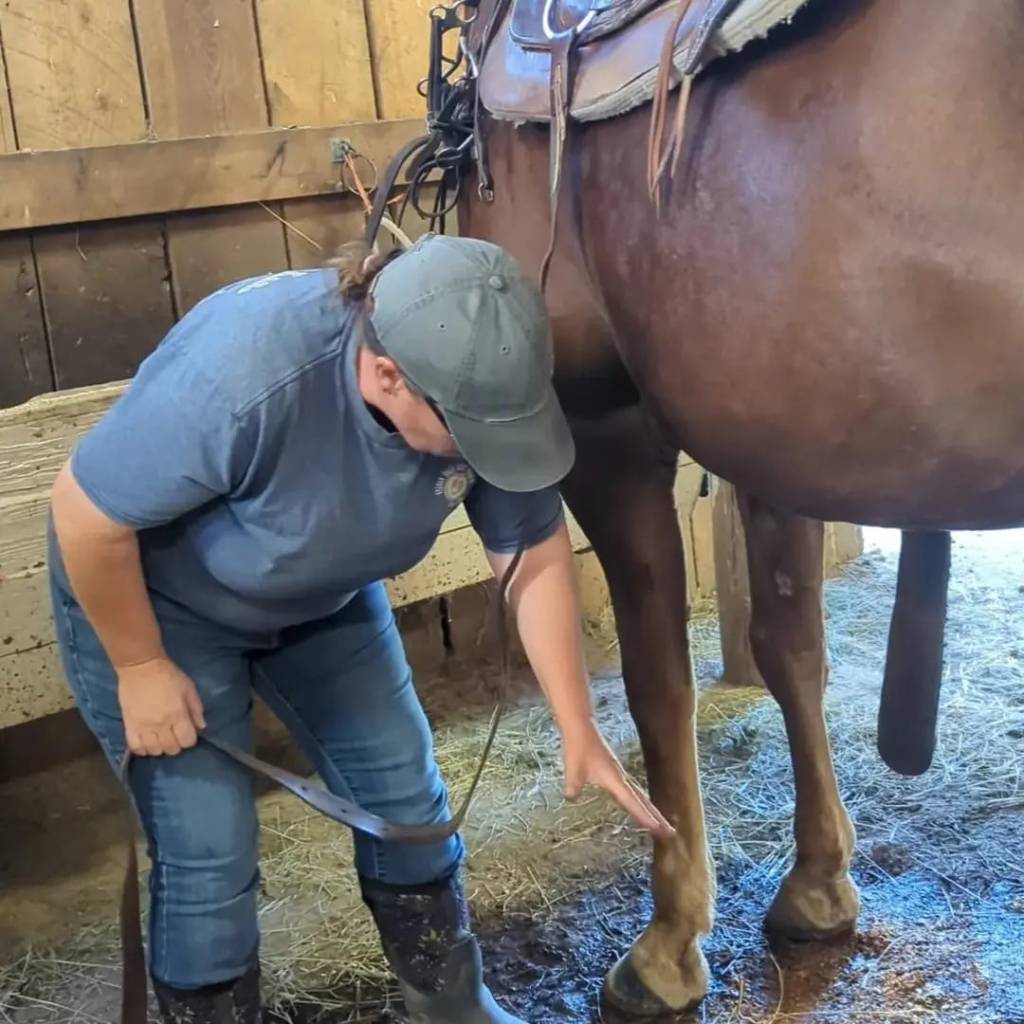
Walk back to the original side. Watching your feet, grab the girdle and pull across the belly underneath the horse. The girdle can’t touch the ground, but the cinch is usually pretty long and if you don’t watch it, it can get dirty in the ground below. The cinch loops into the girdle, then the saddle loop, and lastly the girdle again. That’s three belt buckle points. No more than 3 as too many loops can cause the leather to rub. This can hurt the horse and cause an uncomfortable lump beneath your leg while riding.
Step 4: Cinch
The final loop is at the saddle. Now you will thread the cinch from behind the loop. Pull it across to make a “7.” Then fold over again to make a “4.” Thread the cinch back in the buckle loop from behind again. Pull tight to taut the cinch formation. Lastly, loop the cinch into the cinch part of the “4” that goes horizontal and pulls downwards.


Key Point
Don’t tighten the cinch until you are ready to ride and after the horse has water and warmed up with you on them for a few laps. Tightening the cinch too much too early can cause the horse to hate putting on a saddle. It’s like wearing shoes. Anytime you first put them on and tie the laces, it will feel tight but as soon as you take a small walk, your warmth loosens the shoe up, causing you to need to retie your laces.
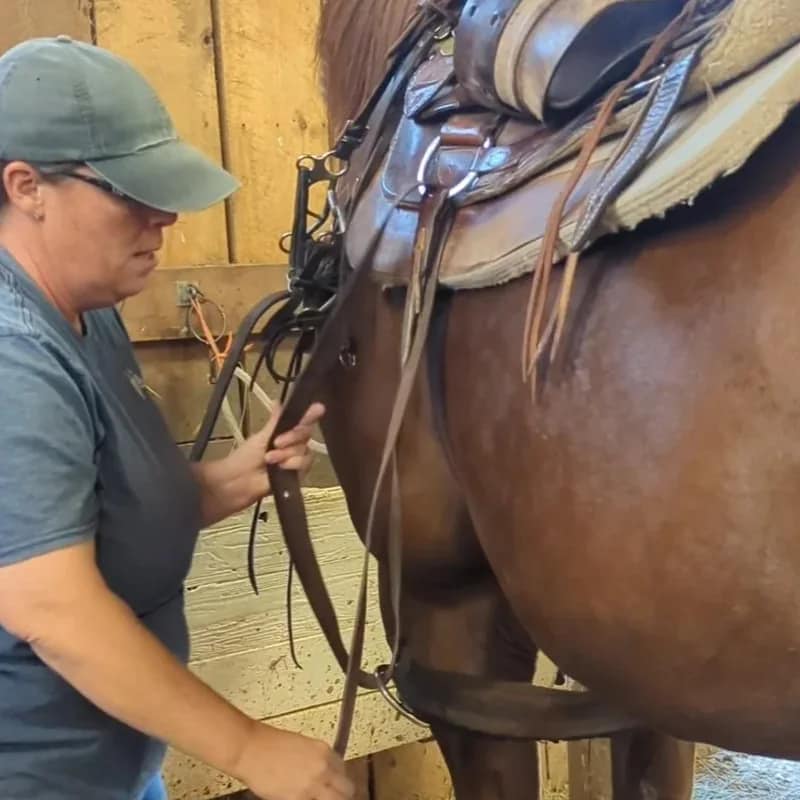
Step 5: Breast Strap
Finish by placing the breast strap across the horse from the girdle side. This ensures the safest way to reach under the horse’s neck by grabbing the breast strap and clipping or buckling it to the other side. Do the breast strap last as it could be a disaster if the breast strap is first and the saddle falls from the horse!
Take Aways
- Always be thinking – if I accidentally get taken away from the horse, what next step will help keep the horse safe?
- The spot under the saddle pad is the sweatiest and dirtiest for the horse. Properly groom this area and make sure the saddle pad is appropriately placed to give the horse the most comfort possible.
- Check that nothing is stuck under the saddle when placed on the saddle pad.
- The breast strap is always last!
- Watch your feet as you grab the girdle.
- Don’t tighten the cinch until the horse has had time to stretch out or slim down.
Learn more about Scenic Byhorse here.
